subscribe
Tell them why they should subscribe to your newsletter here.
subscribe
shop all my picks
Shop my favorites
explore the blog
wife, mom, designer, and blogger curating beautiful spaces to serve my family.
I'm Alaina!
How to DIY a panel wall:
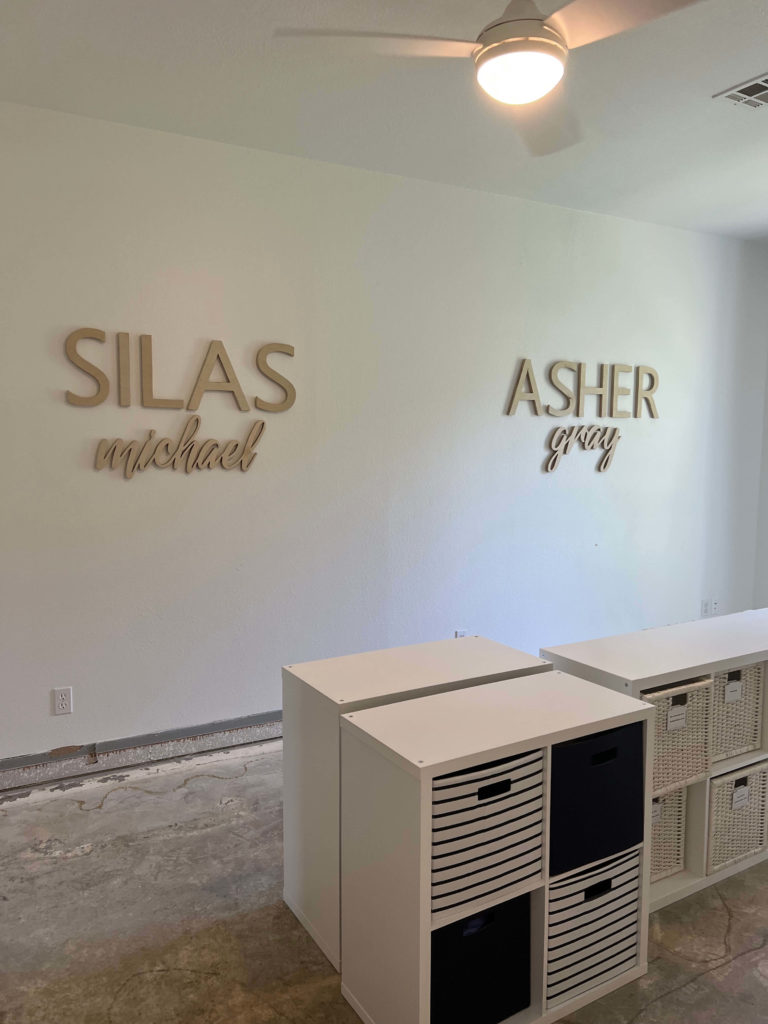
Whenever we were renovating our home we were doing it from out of state and I had just had a new baby. So I kept it simple and had them paint every room white with the full intention of putting more thought into the designs later on. That time came sooner than I thought. 6 months later when we went on vacation we came home to the entire back of our house flooded, with standing water under our floors. They had to rip out all of the floors and baseboards so that weekend I decided it was the perfect time to paint the boys’ room. Well, I wanted something a little more fun than just paint & decided to do a DIY panel wall. However, I did not have any fancy tools and it worked out beautifully. Here is the full rundown and a step-by-step guide.
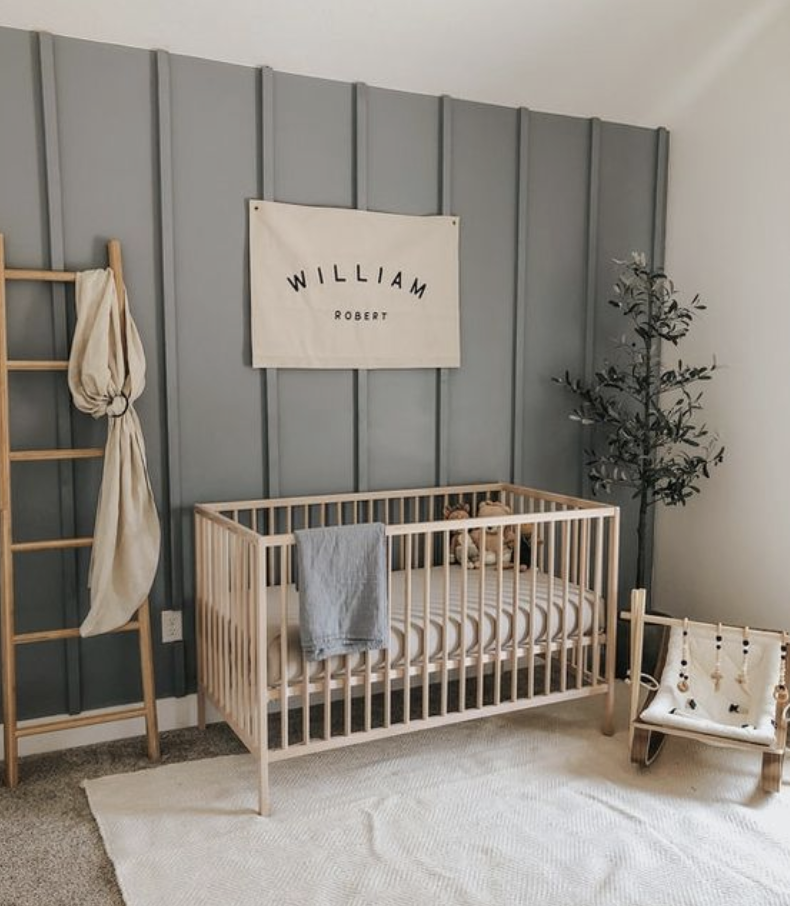
First, let’s start with my inspiration picture. I found this picture by Lori.Dail on Pinterest and it drove the start of my design.
Here is a picture of what the room looked like before I started!
Supplies
- 1×2 wood the length of your wall (precut at Lowes)
- Liquid nails
- Paint
- Caulk (make sure it can be painted within 1 hour of application.
- Painters Tape
- Painting Supplies – Roller, Brush, Drop Cloth, etc…
- Sand Paper
Step 1 – Measure out your wall.
After you measure the width and height of the wall put your measurements in this online calculator and it will tell you how far apart to space everything. I used 1×2 pieces of wood. Next stop at Lowe’s to grab the wood and ask them to cut it, this will save you so much time. Our local Lowes will precut the wood for you so I just went in with the height between my baseboards and ceiling and they cut each piece for me. I also had them cut me an 11” piece of wood to be my spacer between the wood to make sure I got it perfectly even when I went to install it.
Then I stopped at my local Atwoods to get liquid nails, sander, caulk, painter’s tape, and paint supplies.

Step 2 – Sample Paint Colors.
I tried 3 different paint colors that I liked in the Sherwin-Williams store and ended up going with stardew in flat. You can see it in the photo below with no filter. If you take the measurements of your wall to your local paint store then they should be able to help you decide how much paint to get.
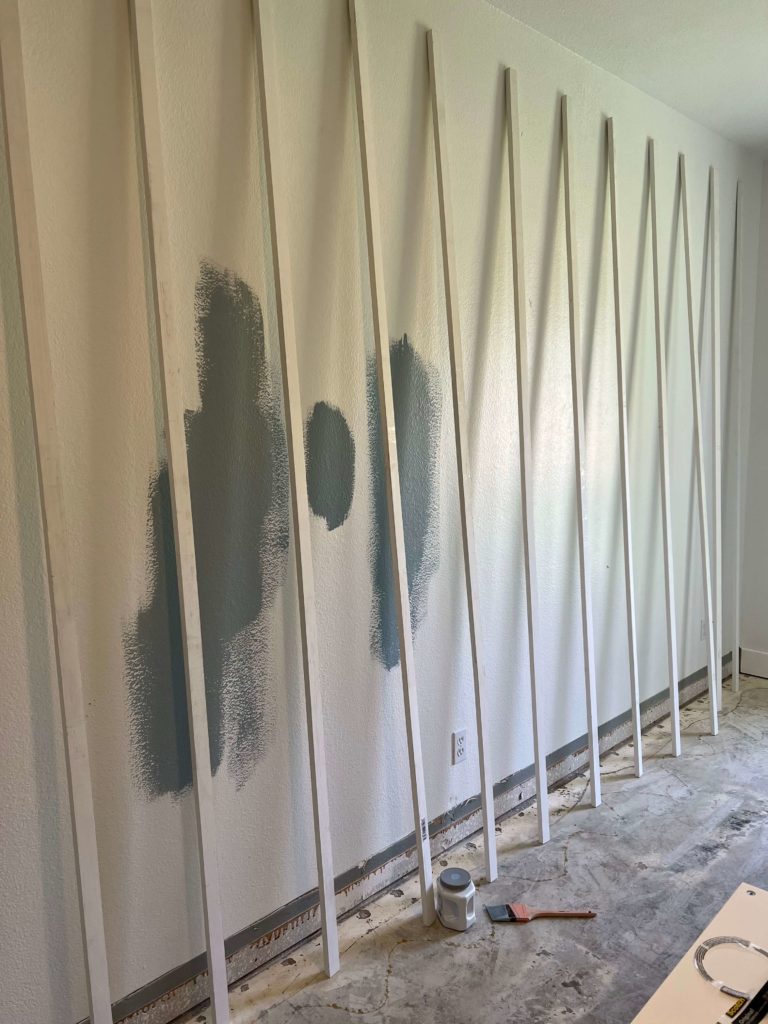
Step 3 – Mark out the Wall
I used my 11″ spacer to make pencil marks at the top and bottom of the wall where each piece of wood was going to go. That way I had a guide at the bottom and top to make sure the wood pieces were straight. We did this to the whole wall to double-check the online calculator and it worked perfectly. We got super lucky and none of our wood panels hit an outlet etc.
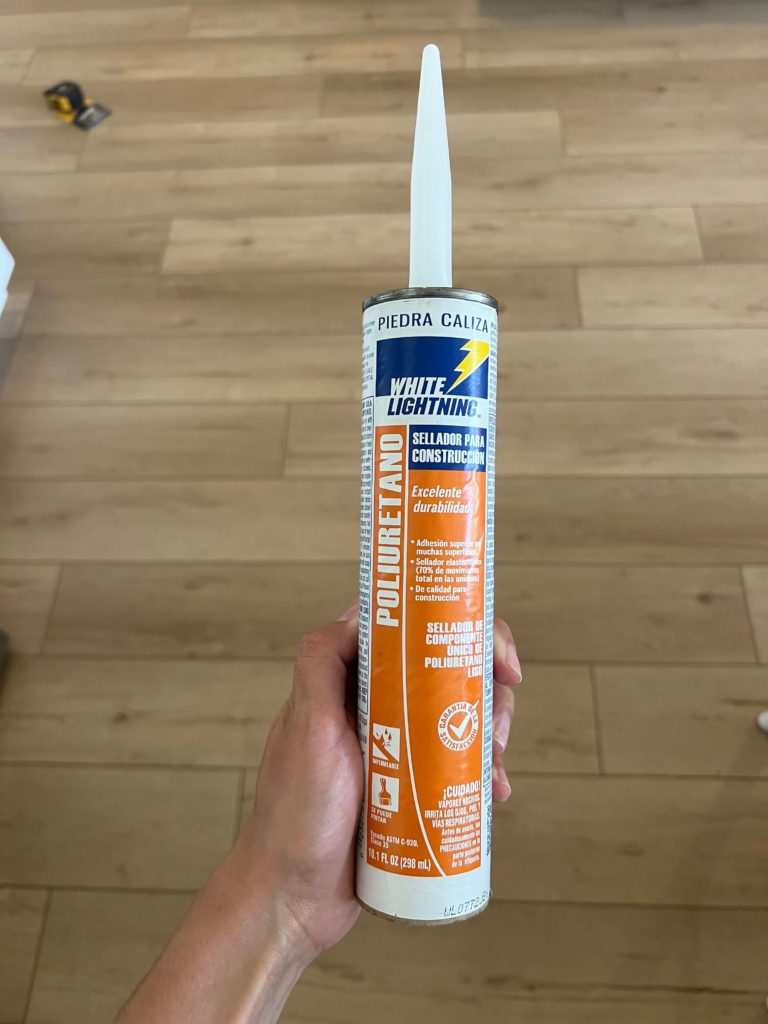
Step 4 – Glue the Panels
Once I mapped this out my husband and I applied the liquid nails to the piece of wood and then stuck it on the wall between my pencil marks. Since we were using glue and the wood is heavy we had to hold each piece for a few minutes until it was dry enough to hold it up, then we would have to adjust a little, but after it dried it was so solid. Not going anywhere. We did this until all 16 pieces were hung.
Step 4 – Prep the wall with painter’s tape
Step 5 – Caulk
Caulk the pieces of wood and then use your finger or smooth cloth to wipe the caulk. Y’all this is where I messed up. There are lots of types of caulk! First time DIY girl here and I bought the kind of caulk that’s for cars, not walls. It turned out okay but could have looked more professional if I would have used the right kind. You also want to make sure the caulk can be painted quickly – like this one that you can paint in 40 minutes.
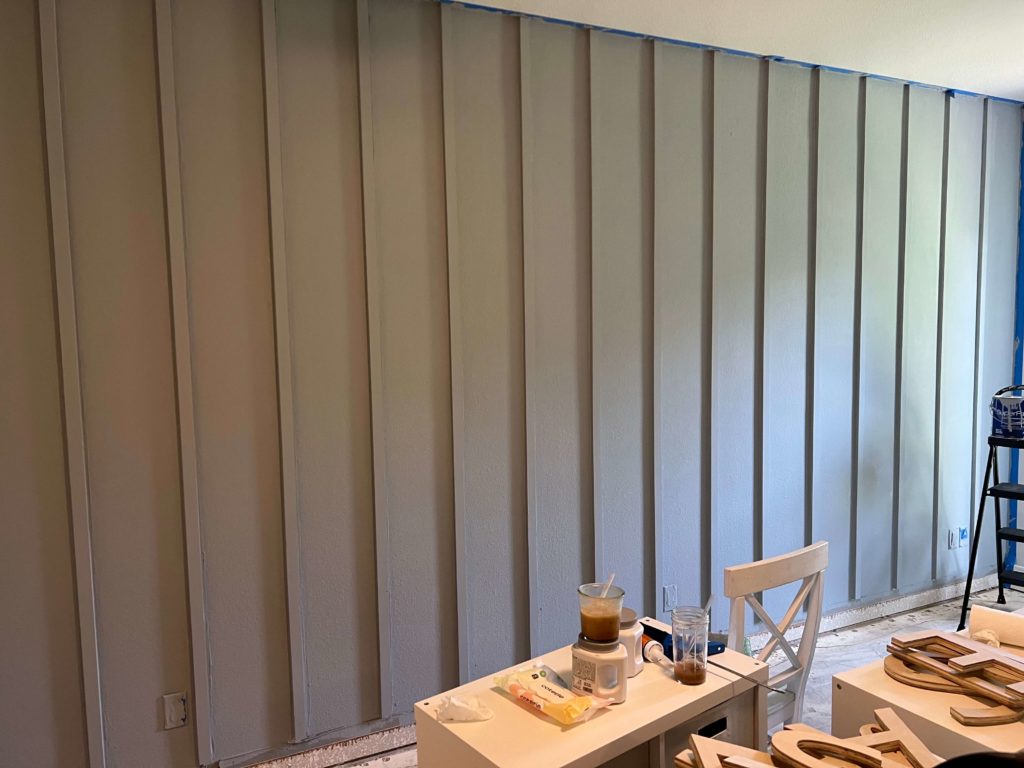
Step 6 – Paint
After the caulk has dried you can paint the walls!!
Honestly a relatively simple weekend project!! For my first ever DIY project I am very happy with the results!! If you have any questions leave them in the comments or DM me on Instagram and I will get back to you!
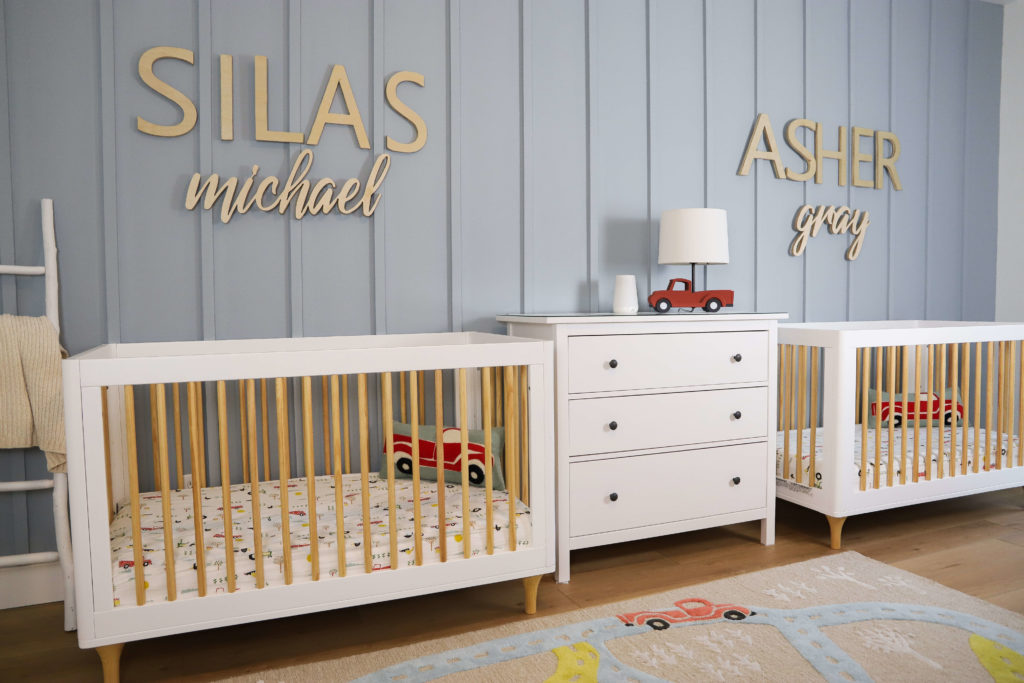
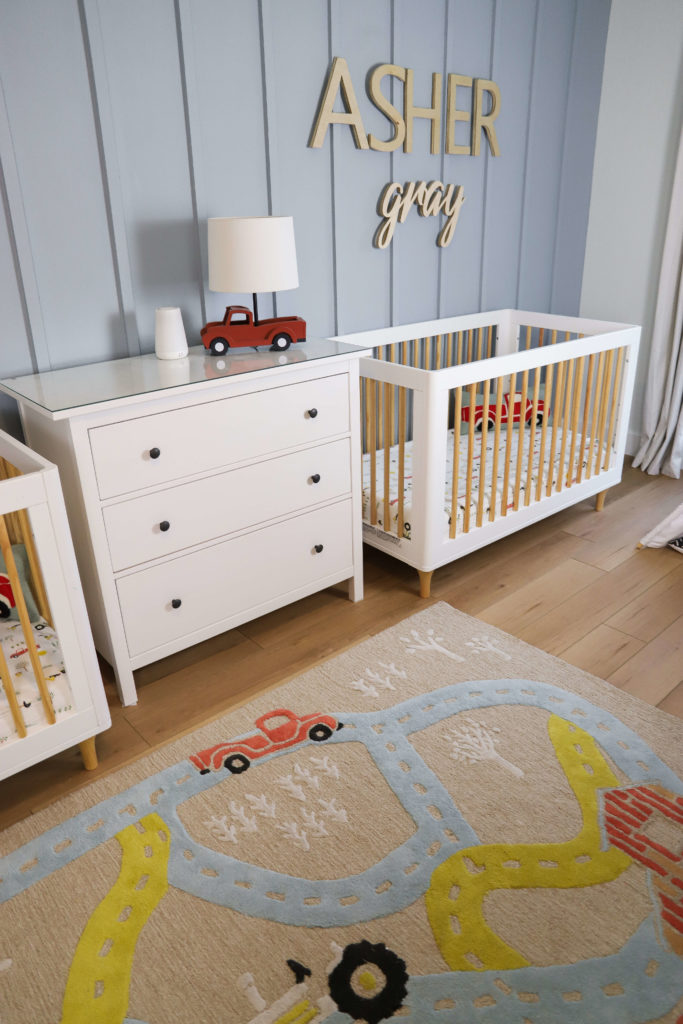
FAQ
Do I need to take off my baseboards? – Our baseboards were already off because of the flood. However, if they weren’t already off I think it would be easier with them on. I feel like my measuring had to be so exact and I was nervous the baseboards weren’t going to fit.
Send me photos to my Instagram DM or email if you end up doing this project! I would love to see how it turned out.
Leave a Reply Cancel reply
© Intentionally Designed | Legal | design by Intentionally designed | photos via unsplash
I want to cultivate a home that at the end of the day its main purpose is to serve my family & the kingdom.